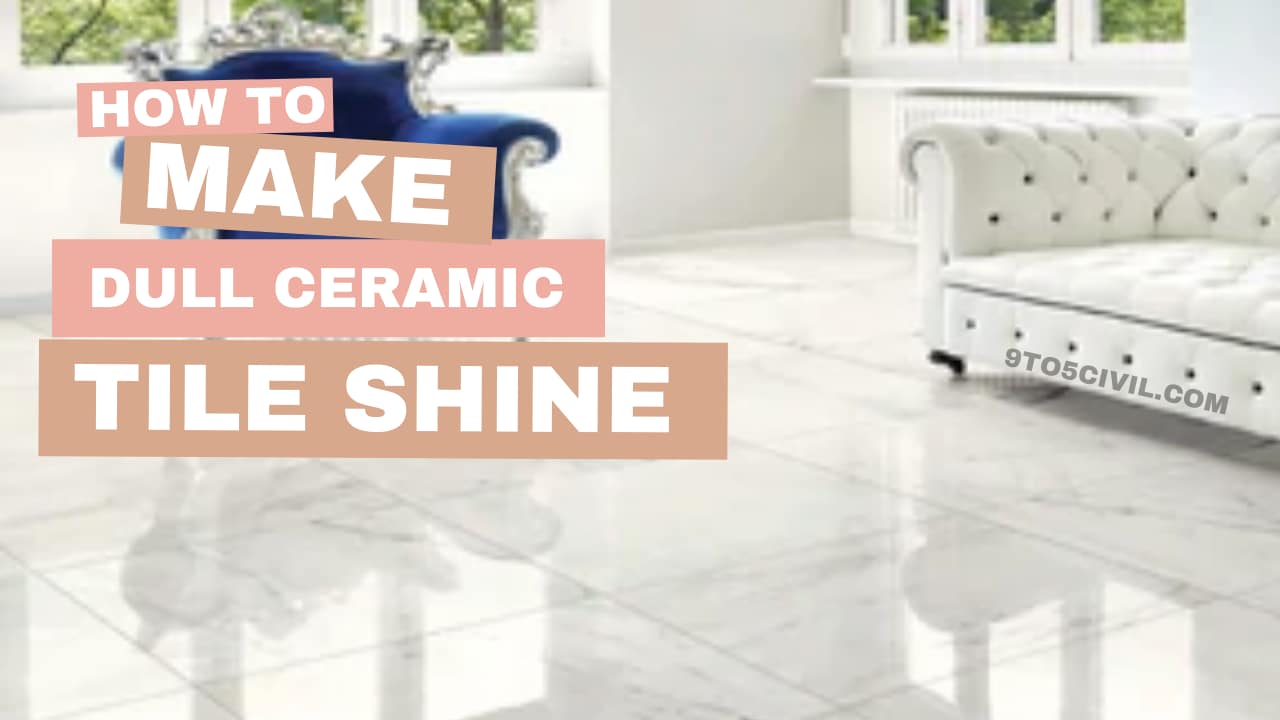
How to Make Dull Ceramic Tile Shine?
How to Make Dull Ceramic Tile Shine for many attractive and practical flooring? Here are some tips to help them find what they are looking for.
Many people choose tile as an attractive and practical flooring option. Both as flooring and in bathrooms, tile is extremely long-lasting and easy to maintain. Tile, on the other hand, might lose its luster over time. We take you through the process of reviving the shine of your tile.
Porcelain and ceramic tile are the most popular options. It’s not enough to just wash and dry them; you have to handle them differently if you want to keep them looking brand new all the time. Porcelain and ceramic tiles are both made of clay that is baked in an oven to make them solid.
The main distinction between the two is the degree of water resistance provided by the hardened clay. When it comes to water resistance, porcelain tile is a lot better than ceramic tile (and more expensive).
Introduction of Ceramic Tiles
The first time you install ceramic tile in your home, you’ll be amazed at how beautiful it looks. Due to its water absorption, ceramic tile cannot be utilized outside. For the most part, your patio tile isn’t made of ceramic.
Ceramic tile might lose its shine with time instead of maintaining a shiny appearance. Ceramic tile in the bathroom, shower, or bathtub can be damaged in a matter of seconds.
You may have used too much tile cleaning solution in the past few months or even years, which is a common cause of this. You can, however, restore your tile’s original luster and cleanliness by doing routine cleanings.
Introduction of Tile Grades
Tile grades are another item to keep in mind when cleaning. Manufacturers of tile developed ratings based on how well it holds up against surface damage such as cracks and scuffs.
What kind of tile is best for your home and how to keep it looking its best can be determined by understanding the different grades of tile.
You may already know what kind of tile you have. In general, the more expensive a product is the higher its grade. Grade three tile is the most prevalent for walls, floors, and worktops.
Also Read: How to Clean Bathroom Tiles
Interested Read:
- How to Prevent water coming into basement when it rains
- How to Fix a Sliding Closet Door? Complete Guide
- How Much Does It Cost to Pave a Driveway?
- How To Frame A Garage Door Opening?
- What Is A Hip and Valley Roof?
- Spalling Concrete Foundation Repair
- How to Repair Pier and Beam Foundation
How to Make Dull Ceramic Tile Shine?
To preserve your ceramic tile from becoming a dusty, dingy surface in your home, we’ve provided a detailed guide below. Waxing isn’t required!
1. Vacuum and Sweep
The first step is to clean your tile. While vacuuming alone will not remove all of the dirt and debris from your floor, using a combination of the two is essential.
As a general rule, it’s best to do the cleaning in conjunction with other household tasks. Your tile floors can be vacuumed over after a light sweep has been completed. Use your vacuum brush roller on tile floors without fear of damaging it.
Porous clay has been solidified, yet ceramic tile is still porous, unlike stone or concrete. Tile can be made from dirt that has been sifted causing irreparable damage by scratching. The dirt is removed from the tile by sweeping and then vacuuming.
Your tile will be ready for cleaning if you follow these instructions. Next, the ceramic tiles need to be thoroughly cleaned so that they gleam.
2. Use of Cleaner
You’ll want to use a mop to get your tile floors really clean when you’re done cleaning. Get all of the dirt out of the way with a light cleaning before adding any liquid.
Depending on the tile you have, you’ll need to employ a distinct set of cleaning techniques and products. The more liquid you apply to ceramic tile, the more quickly it will absorb it.
Using a dishwashing detergent and hot water, mix a light cleaning agent, such as dishwashing detergent. Using a clean, dry rag, gently blot the tile (or scrub the wall tile), taking care not to get too much liquid on the tile at once.
3. Clean Your Tiles Using a Mop or a Spray.
Now that you’ve prepared your cleaning solution, it’s time to work. Mop or spray bottle? It’s up to you. If you need to clean a broad area, a mop is the best tool.
It is possible to use the solution in a spray bottle for spot cleaning, which is ideal for removing stubborn stains. These are the next steps to take when you’ve found the best answer:
Distribute the solution with a microfiber mop after you’ve sprayed it on your ceramic tile. Until you’ve sprayed your entire tile floor, don’t stop there.
Distribute the solution evenly across your tile floor with a mop, then buff it with a microfiber towel to remove any remaining solution. To clean your entire tile floor, repeat this technique.
An alternative to sponge mopping is a stringy mop. String mops disperse the liquid evenly, whereas sponge mops push it around. This will keep your grout from becoming overly wet while also doing a better job of cleaning your ceramic tile.
Clean your floors with cool water, change the water as needed, and rinse thoroughly. Before utilizing your flooring, allow them to air dry. Do not use fans to speed up the drying process.
Using a fan to dry wet tiles will result in a buildup of debris and dust. You’ve just accomplished the opposite of what you were cleaning for.
4. Remove and Disinfect the Grout
Grout might be your worst enemy if you have tile in your home. As a result of its enormous pores, grout can soak in water.
Even the nicest grout for your shower and walls can look old and dusty with time because of the substances it comes into contact with. As a result, your ceramic tile will look shabby.
Follow these steps for the best possible cleaning of grout:
- In a medium spray bottle, combine 3 percent hydrogen peroxide with water.
- Wait for 30 minutes, then apply this solution to your grout.
- You can use an old toothbrush to clean your grout. A mixture of vinegar and baking soda can be used to clean grout if hot water doesn’t work.
- Depending on how dirty it is, you may have to repeat this step numerous times. The next time you have to clean the grout, you can save yourself some time and effort by misting it with a water/vinegar solution.
Conclusion
Ceramic tile cleaning is a chore no one looks forward to, but it is necessary if you want a spotless floor. Depending on where you put your tile and how much grime has accumulated on it, not cleaning your tile on a regular basis might lead to harm to your countertop, wall, or floor.
- Garage Door Header Installation
- Cost to Install French Drain Around House
- How to Install a Gutter Apron?
- 10 Best Gutter Alternativesge
- Alternative to Gutters
- Leaf Guard Vs Gutter Helmet
- Top Brands of Garage Door Openers
- Different Types of Garage Door Openers
- Cheaper Alternative To Self-Leveling Compound
How to Make Dull Ceramic Tile Shine?
Steps for Making Dull Ceramic Tile Shine:
- Vacuum and Sweep.
- Use of Cleaner.
- Clean Your Tiles Using a Mop or a Spray.
- Remove and Disinfect the Grout.
How to Polish Ceramic Tile Floors?
To polish ceramic tiles, take 2 cups of white vinegar and mix it properly in a bucket of hot water. Take a mop, immerse it in the obtained solution, and squeeze the excess liquid. After this procedure, rub lightly with a mop on the floor.
How to Make Dull Ceramic Wall Tile Shine?
Simply mix a small amount of baking soda with water and apply it over your tiles using a damp mop or sponge. Let the mixture sit for several minutes before wiping clean, then watch as your tiles start to shine again! With this simple trick in your arsenal, you can say goodbye to dull-looking tiles once and for all.
Can You Make Dull Ceramic Tile Shine?
Yes, you can make dull ceramic tiles shine again. Here are a few suggestions: Use a soft detergent or ceramic tile cleaner to completely remove any dirt, grime, or stains from the surface of the tiles. Or you can mix equal parts of white vinegar and water in a spray bottle and spray it on the tiles and let it sit for a few minutes. Then, gently scrub the tiles with a soft brush or sponge to restore the shine of the ceramic tiles.
How to Make Ceramic Tile Shine?
Yes, you can make ceramic tile shine again. Here are a few suggestions:
- Soapy Water
- Vinegar Spray
- Baking Soda
- Using Lemon
How to Clean Dull Ceramic Tile?
5 ways to Make Tile Floors shine without wax:
- Distilled White Vinegar.
- With Baking Soda.
- Using Lemon.
- Clean With Soapy Water.
- Combine Ammonia and Water.